How to Download & Install XMEye for MacBook Pro/Air?
XMeye is one of the leading video surveillance applications used to remotely access security cameras, DVRs, and NVRs. While it is well-known for its mobile versions for Android and iOS, many MacBook users also rely on the app for monitoring their homes or businesses. This guide provides comprehensive details on how to download, install, and set up XMeye for MacBook, along with tips on maximizing its features.
What is XMeye?
XMeye is a cloud-based surveillance app that offers a simple, secure, and effective way to monitor your IP cameras, DVRs, and NVRs remotely. The software enables users to stream live video feeds, access recorded footage, and receive motion detection alerts in real-time. Its easy-to-navigate interface and cloud connectivity make it a popular choice for those looking for an accessible and reliable surveillance solution.
While most users associate XMeye with mobile devices, it also works effectively on macOS, allowing MacBook owners to access their security systems through their laptops or desktops.
Features of XMeye for MacBook
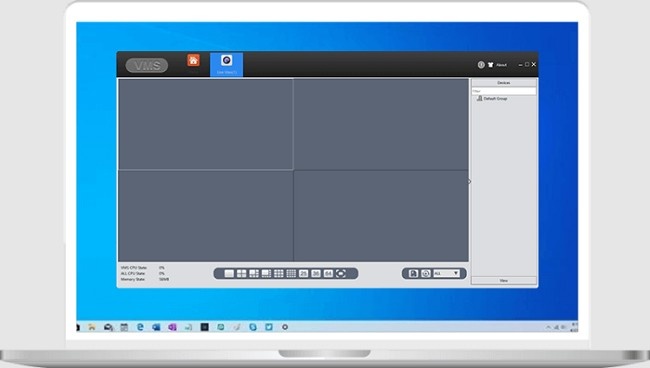
Live Video Streaming
View live video feeds from all your connected devices in real-time, with the ability to zoom and adjust settings as needed.
Playback Functionality
XMeye allows you to play back recorded footage from your cameras, DVRs, or NVRs, making it easy to review past events.
Remote Access
Access your security system from anywhere, anytime, via an internet connection, providing ultimate flexibility.
Motion Detection Alerts
Get instant notifications when the app detects movement in the designated area. This feature adds an extra layer of security to your surveillance system.
Multi-Camera Support
Monitor multiple cameras at once on a single screen, allowing you to keep an eye on various locations or zones simultaneously.
Cloud Storage
Store recordings securely on the cloud, preventing loss of data even in the event of hardware failure.
Cross-Platform Compatibility
In addition to macOS, XMeye works on Windows, iOS, and Android, making it an ideal choice for users with multiple devices.
Cloud P2P Connectivity
Simplifies the setup process by connecting your cameras and devices directly to the cloud, reducing the need for complicated configurations like port forwarding.
How to Download XMeye for MacBook?
Unlike mobile devices, XMeye does not have a dedicated app for macOS. However, you can still install and use XMeye on your MacBook via the Windows emulator or the web portal. Below are two methods to download and set up XMeye on your MacBook.
Method 1: Using the Windows Emulator
Since XMeye's primary desktop version is available for Windows, using an emulator like Parallels Desktop or VirtualBox allows you to run Windows applications on macOS. Here's how you can do it:
Download the Windows Emulator
First, you need to download and install a Windows emulator. Parallels Desktop and VirtualBox are popular options, but Parallels Desktop is paid software, while VirtualBox is free to use.
Install Windows OS
After downloading and installing the emulator, you need to install Windows. This can be done by either purchasing a license for Windows or using a trial version.
Download XMeye for Windows
Once you have the Windows operating system set up, open the emulator, and use a web browser to visit the official XMeye website or trusted third-party websites to download the Windows version of XMeye.
Install XMeye
After the XMeye setup file is downloaded, double-click it to run the installation process, and follow the on-screen instructions.
Launch and Set Up XMeye
Once the installation is complete, open XMeye within the Windows environment and follow the standard procedure to log in, add your devices, and start monitoring your security systems.
Method 2: Using XMeye Web Portal
Alternatively, if you prefer not to use a Windows emulator, you can use XMeye through its web portal. Here’s how you can access XMeye on your MacBook using a browser:
Open Your Web Browser
Open Safari, Chrome, or any other preferred browser on your MacBook.
Visit the Official XMeye Website
Go to the official XMeye website, where you’ll find the web portal for remote monitoring.
Log In to Your Account
Once you're on the portal, sign in with your credentials. If you don’t have an account, you can create one.
Connect Your Devices
Just like with the mobile app, you’ll need to add your surveillance devices to your account. Input the serial number or scan the QR code for easy setup.
Monitor and Manage Your Cameras
Once connected, you can start viewing your live feeds and recorded footage directly from your browser. The web portal offers similar functionality to the mobile app, including playback, motion detection alerts, and multi-camera monitoring.
Installation Process for XMeye on MacBook via Windows Emulator
If you choose to install XMeye using a Windows emulator, here's a step-by-step installation guide:
Step 1: Install the Emulator
Download Parallels Desktop (paid) or VirtualBox (free) from their respective websites and install it on your MacBook. Follow the instructions on the screen to complete the installation.
Step 2: Set Up Windows
After installing the emulator, create a virtual machine (VM) for Windows. You'll need an ISO file or a physical copy of Windows to proceed. Once the setup process is complete, you can boot up Windows on your MacBook.
Step 3: Download XMeye for Windows
Open a browser within the Windows emulator and visit the official XMeye website. Download the setup file for the Windows version of XMeye.
Step 4: Install XMeye
Once the download is complete, double-click the setup file and follow the prompts to install XMeye on the virtual Windows machine.
Step 5: Launch XMeye
After installation, you can start the application from the Windows virtual environment. Sign in to your XMeye account and begin adding your devices.
Advantages of Using XMeye for MacBook
Access Anywhere
Whether you use the web portal or a Windows emulator, XMeye allows you to access your security systems remotely from any location with an internet connection.
Centralized Control
Monitor and control your surveillance devices from your MacBook, which may offer better visuals and a larger screen compared to mobile devices.
Multiple Device Management
With the ability to connect multiple devices, XMeye makes it easy to manage security systems for various locations, whether it’s for home, office, or industrial use.
Cloud Backup
Store your recorded video feeds in the cloud for easy retrieval and data security.
User-Friendly Interface
The software is simple to set up and easy to use, ensuring you can start monitoring without any technical expertise.
System Requirements for XMeye on MacBook
Since XMeye does not have a native macOS app, the system requirements depend on whether you're using the web portal or running XMeye via a Windows emulator:
For Web Portal:
macOS 10.9 or later
Stable internet connection
Modern web browser (Safari, Chrome, etc.)
For Windows Emulator (Parallels/VirtualBox):
macOS 10.10 or later
Minimum 4 GB of RAM
15 GB free storage
Windows OS (via emulator)
Common Problems and Troubleshooting
Can’t Install XMeye on MacBook
If you’re having trouble installing the emulator or the XMeye software, ensure that your macOS and Windows OS are updated to the latest versions. Additionally, verify that you have enough storage on your device.
XMeye Not Connecting to Devices
Ensure your IP cameras or DVR/NVRs are correctly connected to the internet and that the device serial numbers are entered correctly. Check the network settings, and make sure the devices are powered on.
Lagging or Delayed Video Feed
If the video feed is lagging, try improving your internet connection or reducing the number of simultaneous video streams.
Conclusion
Using XMeye on your MacBook allows you to easily monitor your security systems with all the features available on mobile apps, plus the added benefit of a larger screen. Whether you choose to use the web portal or a Windows emulator, the process is straightforward, and the software’s rich features make it a powerful tool for home and business surveillance.
By following the steps outlined in this guide, you can quickly get XMeye up and running on your MacBook and start enjoying the convenience of remote monitoring right from your laptop.